
Nick Cobb


Disclaimer: I am an advisor for Veertu Inc.
Starting with this post, I am writing a series of articles to show you how to get started building your own macOS private cloud for iOS CI using Veertu Inc.’s latest technology, Anka. Anka was built to support many of the principles foundational to good continuous integration systems, including supporting fast incremental deploys and immutable infrastructure concepts. In this series, I’ll show you how to get started with their hypervisor, registry, and controller to take full advantage of tools that were purpose-built to support iOS and macOS CI on Apple hardware.
For this post, we will get started with installation and creating our very first Anka VM.
Of note, Anka comes in two product tiers, Anka Run and Anka Build. For the purposes of building a full-fledged CI system, we need Anka Build. First, we’ll head over to the Anka Releases page to go ahead and get signed up. Once we’ve signed up we receive an email with all of the download details. For now, go ahead and download all of the components for Anka Build. Once downloaded, let’s install the AnkaBuild-1.0_40.pkg (version at the time of this writing) to our local macOS system (the laptop).
Here’s a brief note on the components used in this series:
Our EC2 instances above could technically be combined, but for the purposes of this writing we will show them separately to avoid confusion.
Some additional prerequisites:
Install macOS Sierra.app (downloaded to /Applications from the Mac App Store or Developer Portal)Once we have all of these components we can begin to create some VMs!
Now that we have Anka installed, let’s take a look at creating our first VM. To create a VM, we will very simple run the following command to create a VM named macos-anka-v1:
anka create --ram-size 4G --cpu-count 4 --app /Applications/Install\ macOS\ Sierra.app macos-anka-v1
After running this command we get a nice progress dialog output to follow:
Attaching the InstallESD...
Installing macOS 10.12.5...
Install progress: 0.93%
and later…
Attaching the InstallESD...
Installing macOS 10.12.5...
Copying addons... 98.9%
Volume on disk2s2 renamed to Macintosh HD
"disk3" unmounted.
"disk3" ejected.
"disk2" unmounted.
"disk2" ejected.
Converting to ANKA format...
61440+0 records in
Preformatting hard drive
vm created successfully with uuid: 4a5ff6eb-6995-11e7-81a5-784f43758c89
Would you like to start the new vm? [y/N]:
We’ll choose y to start our VM and see how things look. When the VM starts, we get a graphical printout of the VM properties.
+-----------------------+--------------------------------------+
| uuid                  | 4a5ff6eb-6995-11e7-81a5-784f43758c89 |
+-----------------------+--------------------------------------+
| name                  | macos-anka-v1                        |
+-----------------------+--------------------------------------+
| cpu_cores             | 4                                    |
+-----------------------+--------------------------------------+
| ram                   | 4G                                   |
+-----------------------+--------------------------------------+
| image_id              | d4ae7554-6992-11e7-bbce-784f43758c89 |
+-----------------------+--------------------------------------+
| status                | running                              |
+-----------------------+--------------------------------------+
| addons                |                                      |
+-----------------------+--------------------------------------+
| vnc_port              | 5900                                 |
+-----------------------+--------------------------------------+
| vnc_connection_string | vnc://:admin@10.0.1.32:5900          |
+-----------------------+--------------------------------------+
| vnc_password          | admin                                |
+-----------------------+--------------------------------------+
| view_vm_display       | anka view macos-anka-v1              |
+-----------------------+--------------------------------------+
We’re given a couple of options to view this virtual machine. Depending on our needs, we’ll choose either the vnc_connection_string or the view_vm_display. The VNC connection will open a VNC view using the native Screen Sharing.app that comes with macOS. Because this is an Anka demo however, let’s use the command anka view macos-anka-v1 and open the Anka View application.
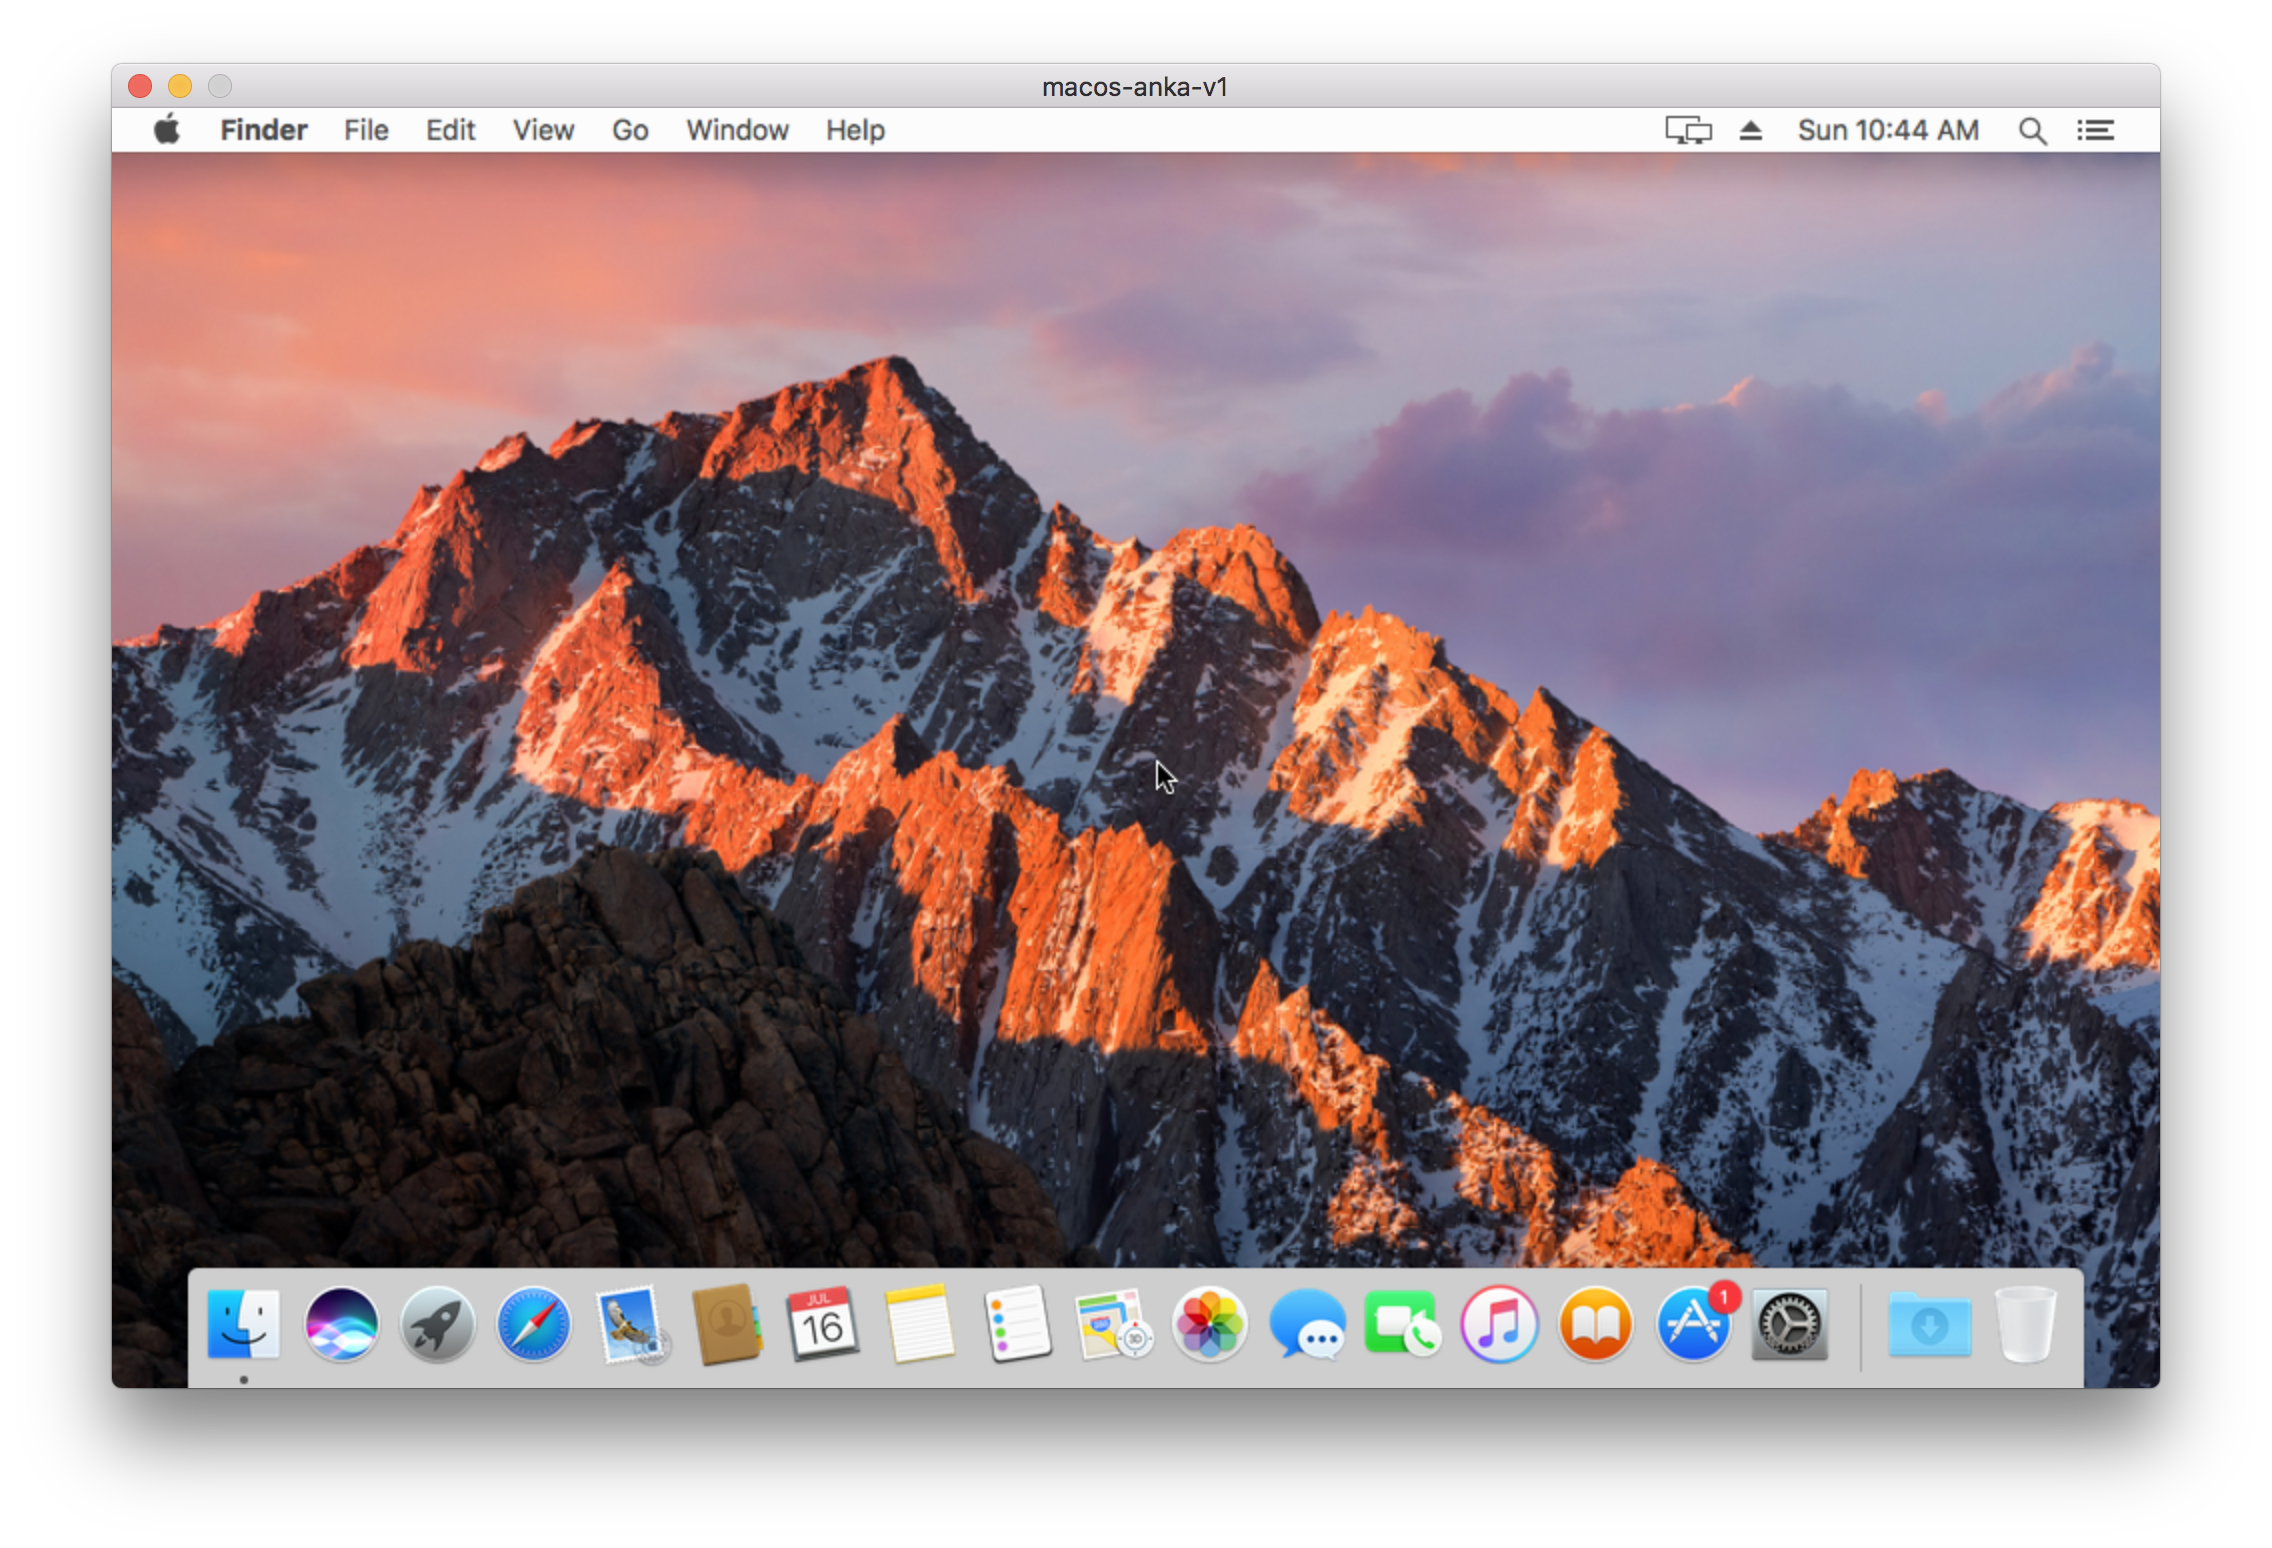
There it is! Our VM is created.
Now that we have a virtual machine, we’ll need to do some configuration of this environment to run our iOS continous integration. In the next post, we’ll cover how Anka supports principles of immutable infrastructure and continuous delivery of infrastructure configuration.